To test your
stun gun’s battery without discharging it, grab a trusty
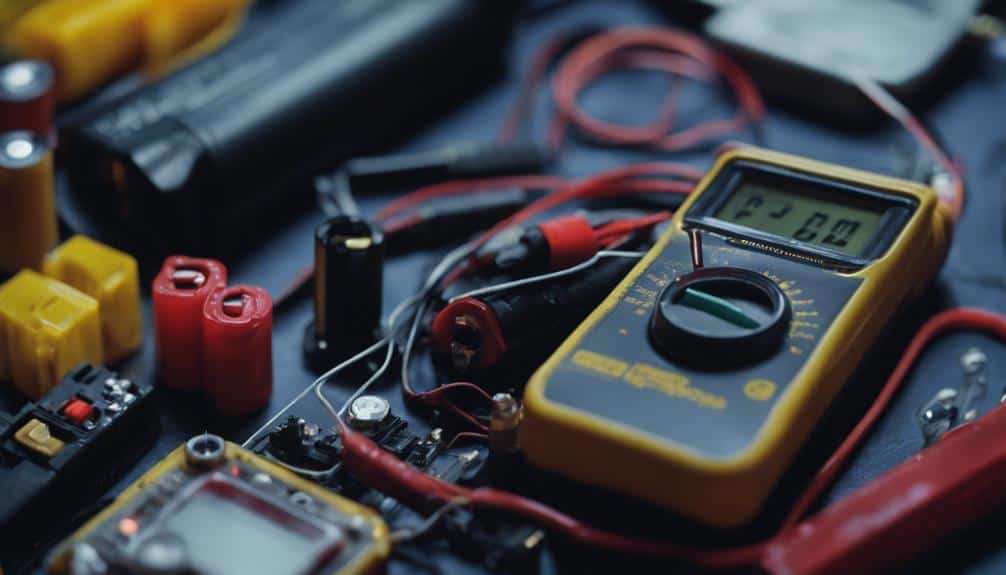
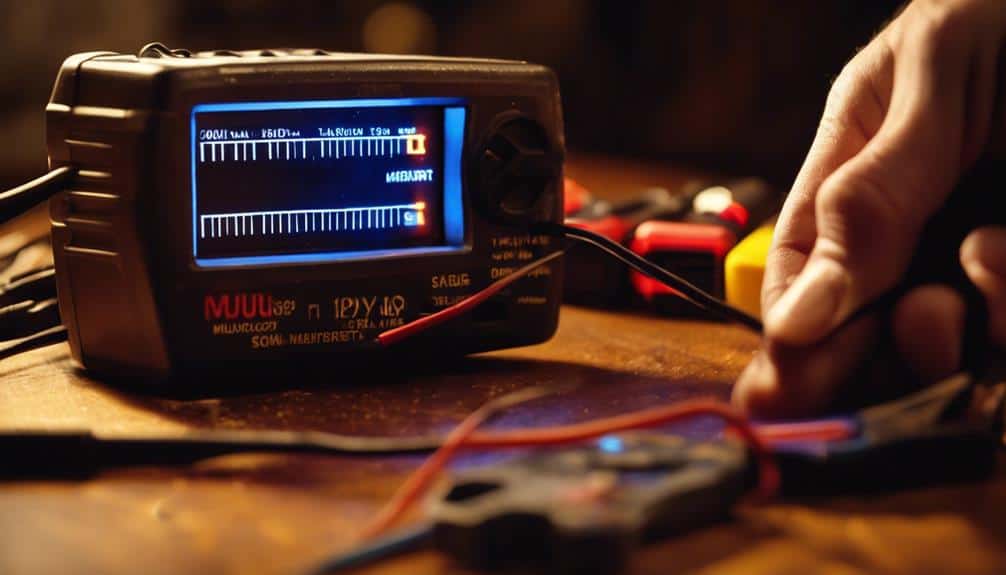
multimeter or battery tester, your new best friends in battery diagnostics. Simply set your multimeter to the
DC voltage setting that matches your battery’s range—think along the lines of 9V or 12V—and connect those probes to the terminals. If your voltmeter shows readings close to
nominal voltage (8.4V-9V for 9V batteries), you’re in the clear. A helpful tip: make sure the devices are off before testing, unless you’re trying to invent shock therapy! With regular checks like this, you’ll avoid surprises when pressing that trigger, releasing further benefits.
Understanding Battery Health
When it comes to ensuring your
stun gun operates effectively, understanding
battery health is essential. Envision this: you’re in a self-defense situation, adrenaline pumping, and your trusty stun gun decides it’s time for a nap. To avoid this nightmare, regularly checking your stun gun’s
battery life is vital. A
fully charged battery should maintain a voltage that keeps your device ready to zap when you need it most. For
lithium batteries, a monthly
recharge is your golden rule to peak performance. This is particularly important for devices like the
ZAP Stun Cane with Flashlight, which relies on a built-in rechargeable battery for its effectiveness.
Now, let’s talk about the famous “spark test.” Simply hold the trigger for about 5 seconds. If your stun gun remains silent without a spark, it’s not trying to play hard to get—it’s telling you it needs a recharge or a new battery. Don’t forget to inspect those
battery contacts, either.
Dirt or corrosion can be the mischievous gremlins causing poor power transfer, reducing battery life and efficiency.
And hey, follow the
manufacturer’s guidelines on charging frequency like you follow your favorite TV series. Avoid overcharging, or neglecting, and you’ll dodge premature battery failure like a pro. Remember, a healthy battery equals a reliable stun gun.
Tools Required for Testing
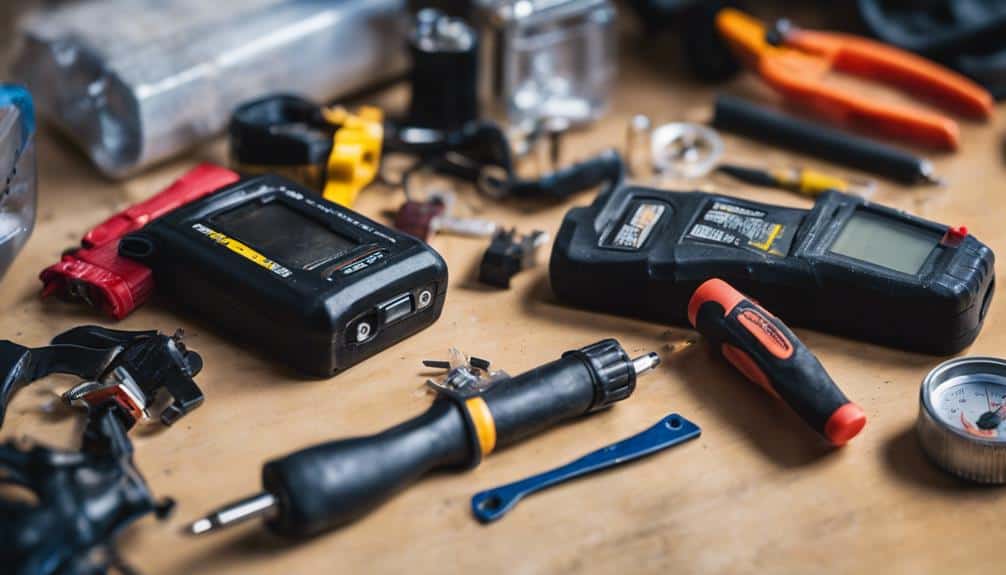
To guarantee your stun gun’s battery is in top shape, you’ll need the right tools for testing. A multimeter is indispensable, letting you measure the voltage levels and verify if the battery’s charge is up to snuff. It’s like the Swiss Army knife for electronics, just without the corkscrew. A battery tester offers a quick peek into the battery’s health, giving you peace of mind without going through the hassle of a full discharge. You don’t want to end up in a sticky situation only to find your stun gun’s battery is as flat as yesterday’s soda.
Here’s a handy table to keep things clear:
| Tool |
Purpose |
Benefit |
| Multimeter |
Measures voltage levels |
Guarantees sufficient charge |
| Battery Tester |
Assesses health and charge status |
Quick, non-disruptive check |
| Continuity Tester |
Verifies battery connections and wiring |
Confirms proper functioning |
| Insulated Pliers |
Conducts spark test |
Checks for strong spark output |
| Manufacturer’s Guide |
Provides testing tool guidelines |
Prevents damage, maintains warranty |
Don’t forget, using a continuity tester can confirm the integrity of connections and wiring, while insulated pliers are perfect for a spark test, checking for a robust spark without fully discharging your stun gun. Always follow the manufacturer’s guidelines to avoid turning your stun gun into a glorified paperweight.
Using a Multimeter
Armed with the right tools, it’s time to put your
multimeter to work and ascertain your stun gun’s battery is ready for action. First, set your multimeter to the
DC voltage setting that matches your battery’s range—9V or 12V for most stun guns. Think of it like tuning a radio; you want to pick the right channel for accurate readings. Keep in mind that
discreet designs of stun guns, like those mimicking cell phones, may also influence battery requirements. Next, connect the multimeter probes to the
battery terminals. Make sure the
positive probe, usually red, touches the positive terminal, and the
negative probe, often black, connects to the negative terminal. This guarantees you don’t end up with scrambled results!
Once connected, check the multimeter’s display. A
fully charged battery should read close to its nominal voltage—around 8.4V to 9V for a 9V battery and 12.6V to 13.2V for a 12V battery. If you see numbers dipping considerably below, like a 9V battery showing 7.5V or less, it’s time for a
recharge or replacement. Regularly testing with your multimeter can prevent those “uh-oh” moments when you need your stun gun most. Remember, it’s better to be safe than sorry, and a
quick test can keep your peace of mind charged up!
Checking Voltage Levels
As you investigate
checking voltage levels, understanding the importance of a
charged battery is essential. Imagine needing your stun gun in a critical moment, only to find it powerless. To prevent this, regularly check your stun gun’s battery voltage using a
multimeter. Set the multimeter to the DC voltage setting, and carefully measure the voltage directly from the battery terminals. A fully charged battery should read close to the
manufacturer’s specified voltage, often around 9V. The
Bouncer stun gun, for example, comes with two
removable lithium batteries that should be regularly checked to guarantee
peak performance.
If your reading is considerably lower, say under 7V, it’s time to
recharge or replace that battery pronto! Regularly testing your battery’s voltage helps guarantee your stun gun is always ready for action, sparing you from surprises when you need it most. Now, a word to the wise: when you’re measuring, keep the stun gun turned off, and make sure those multimeter probes don’t touch each other. We’re testing voltage here, not trying to spark a miniature fireworks show!
Identifying Battery Issues
When identifying battery issues with your stun gun, start by checking the
battery indicator—it’s like your stun gun’s way of waving a red flag at you if something’s amiss. This feature is particularly useful in the
Stun Pen Pink Stun Gun, which includes a battery status indicator for monitoring charge level. Use a
voltage tester to verify the battery’s output matches the
manufacturer’s specifications; think of it as giving your battery a quick
health check-up, much like you’d do with your car’s oil level. If everything looks good but your stun gun still seems underpowered, it might just be your battery’s way of saying, “I need a vacation,” so inspect it for any
physical damage or connection issues.
Check Battery Indicator
To guarantee your stun gun is always ready for use, keep an eye on its battery indicator. This nifty little light can be a lifesaver—or at least a device-saver. Imagine needing your stun gun, only to find it’s as useful as a chocolate teapot because the battery’s dead. That’s precisely what the battery indicator helps you avoid. Most stun guns, like the
SAL Pink Stun Gun, have a light that turns from red to green when fully charged, giving you a heads-up on the battery’s status without firing off the device. Remember, this device also comes with a rechargeable battery, ensuring long-lasting power. Here’s what to watch for:
- Red Light: Time for a recharge—your stun gun’s feeling a bit low.
- Green Light: All systems go! You’re ready for action.
- No Light: Uh-oh, your battery might be completely kaput. Consider replacing it.
- Dim/Flickering Light: Your batteries on its last legs; charge it up pronto!
- Manufacturer’s Instructions: Always your go-to for understanding what each light means.
Use Voltage Tester
Although it might seem a bit technical, using a
voltage tester is a straightforward way to guarantee your
stun gun’s battery is up to snuff. Imagine it as your battery’s personal doctor—checking its essentials without all the drama! First, make sure your stun gun is
turned off; we don’t want any surprise jolts turning you into a human sparkler! Once it’s safe, connect the voltage tester to the battery. This nifty gadget measures the
voltage output, helping you identify if your battery is charged or needs a little TLC, like
recharging or replacing. It’s crucial to mention that some stun guns, such as the
Triad 27,000,000 Volts Stun Gun, come with
integrated safety features that prevent accidental discharge while testing or charging.
Set the voltage tester to the correct range for your battery type, typically around 9V for
standard stun gun batteries. Think of this setting as ensuring your thermometer is set to Fahrenheit when checking for a fever. A reading below the
manufacturer’s specified voltage indicates your battery might be feeling under the weather. Regularly checking with a voltage tester can prevent
unexpected failures, meaning your stun gun is always ready for those “just-in-case” moments. So, grab that tester and give your stun gun’s battery the attention it deserves—because you never know when you might need to zap a little peace of mind into your day!
Avoiding Common Mistakes
Testing a stun gun’s battery can be straightforward if you avoid common mistakes. First, verify your stun gun is powered off before any kind of testing to prevent accidental discharge or injury—nobody wants an unplanned shock! Using a multimeter is an effective way to measure battery voltage, but remember, a reading below the manufacturer’s specified voltage means it’s time for a recharge or replacement. It’s like trying to drive a car on fumes; it just won’t work. To keep your stun gun in tip-top shape, be mindful of these pitfalls:
- Don’t overcharge: It can shorten the battery’s lifespan and lead to hazards. Stick to the recommended charging time.
- Inspect battery contacts: Dirt or corrosion may mislead you about the battery’s status.
- Conduct a quick spark test: A 5-second check can reveal if the battery needs charging without draining it. The compact design of the LiL Guy Pink Stun Gun makes such checks convenient.
- Follow manufacturer guidelines: They know their stuff; trust them.
- Avoid incorrect voltage measurements: Using the wrong settings can give skewed results.
Importance of Regular Checks
Reliability is key when it comes to self-defense tools like stun guns. You want to know that your stun gun will work when you need it most, and regular checks of the battery are essential to ensuring this reliability. Imagine your stun gun as a superhero in your pocket—it’s only as powerful as its battery. Performing regular spark tests, lasting about 5 seconds, can help you verify the charge without draining it completely. Just like you wouldn’t run a marathon without checking your sneakers, don’t rely on a stun gun without checking its battery.
| Check Type |
Frequency |
| Spark Test |
Monthly |
| Power Indicator |
As Available |
| Battery Recharging |
Monthly |
Monthly inspections are your best friend, preventing any surprise failures during critical moments. If your stun gun has power indicators, use them for a quick status check—think of them as the gas gauge for your stun gun. Keeping a routine schedule for these checks not only maintains performance but also extends the lifespan of your tool. So, be diligent and treat your stun gun like you would a prized pet—take care of it, and it’ll take care of you.
Safe Handling Practices
Now that you’ve got a handle on keeping your stun gun’s battery in peak condition, let’s focus on safe handling practices. Whether you’re a flashlight stun enthusiast or simply ensuring your safety gear is in top shape, proper handling is key. First, always make sure the stun gun is turned off before you start fiddling with it—nobody wants an accidental shock to spice up their day. Store it securely, out of reach of children or curious pets, because surprise zaps aren’t the kind of family fun anyone wants. Also, consider the sleek pink design of your stun gun as a stylish addition, but remember that style should never compromise safety.
To keep your stun gun in tip-top condition, consider these tips:
- Turn off the device before handling or testing.
- Store in a secure, child-proof location.
- Clean exterior contacts with a damp cloth regularly.
- Check for moisture around the battery compartment.
- Handle carefully, avoiding drops and impacts.
When to Replace Batteries
If you’ve noticed a drop in your stun gun’s performance, it might be time to replace the batteries. A weak or inconsistent electrical discharge during test firing is your first clue. Think of it as your stun gun’s SOS, signaling low or depleted power. And if it fails to spark during a test, that’s the equivalent of a flat tire on a road trip—it’s not going anywhere until you fix it. Regular checks are crucial, especially if your device has been gathering dust; it’s like checking on an old friend to verify they’re still in the game.
Here’s a quick guide to help you decide when to replace batteries:
| Symptom |
Emotion |
Action Needed |
| Weak Discharge |
Frustration |
Replace Batteries |
| No Spark |
Panic |
Immediate Replacement |
| Red Indicator Light |
Anxiety |
Charge, then Replace |
| Not Used Recently |
Caution |
Replace Before Use |
| Manufacturer’s Schedule |
Reassurance |
Follow Recommendations |
For peak performance and peace of mind, consider following the manufacturer’s advice, typically every 6 to 12 months. Remember, a well-maintained stun gun is your reliable sidekick, always ready when you need it.
Frequently Asked Questions
How Long Does a Stun Gun Battery Last?
Your stun gun’s battery typically lasts 3 to 6 months on a full charge. For ideal battery maintenance, recharge monthly and follow manufacturer guidelines. Factors like temperature and usage frequency can affect lifespan, so take care of your device.
Why Isn’t My Stun Gun Working?
Your stun gun might not work due to poor battery maintenance. Check the charge level, guarantee the trigger works, inspect for loose wiring, and look for physical damage. Addressing these issues can restore functionality.
Why Is My Stun Gun Not Sparking?
Your stun gun’s not sparking due to poor battery maintenance. First, check the battery charge and connections. Clean any dirt or corrosion from contacts. Verify everything’s secure. Follow the manufacturer’s guide for specific troubleshooting on your model.
How Do You Know When Your Taser Is Fully Charged?
You can know your taser’s fully charged by checking the charging indicators. A green light typically shows readiness, while red suggests it needs more charging. Follow the manufacturer’s instructions for precise charging times and indicator meanings.


